Flagsmith Quick Start Guide
This tutorial will guide you through the core concepts of integrating Flagsmith into your application in four simple steps:

Learning objectives
By the end of this tutorial, you will be able to:
- Create a Project and your first flag in the Flagsmith dashboard.
- Import the Flagsmith JavaScript SDK into your web page.
- Connect to the Flagsmith API and retrieve your flags.
- Update your application's behaviour based on a flag's value.
Prerequisites
You will need access to a Flagsmith instance (either using the SaaS platform or self-hosted) and a basic understanding of HTML and JavaScript. To set up self-hosted easily via Docker follow the instructions available here.
If you're using the SaaS platform, log in at app.flagsmith.com. If you're self-hosting, log in to your deployed instance.
1. Create a Project and Flag in the Dashboard
We are going to create an organisation (if you haven't already), a project, and your first flag.
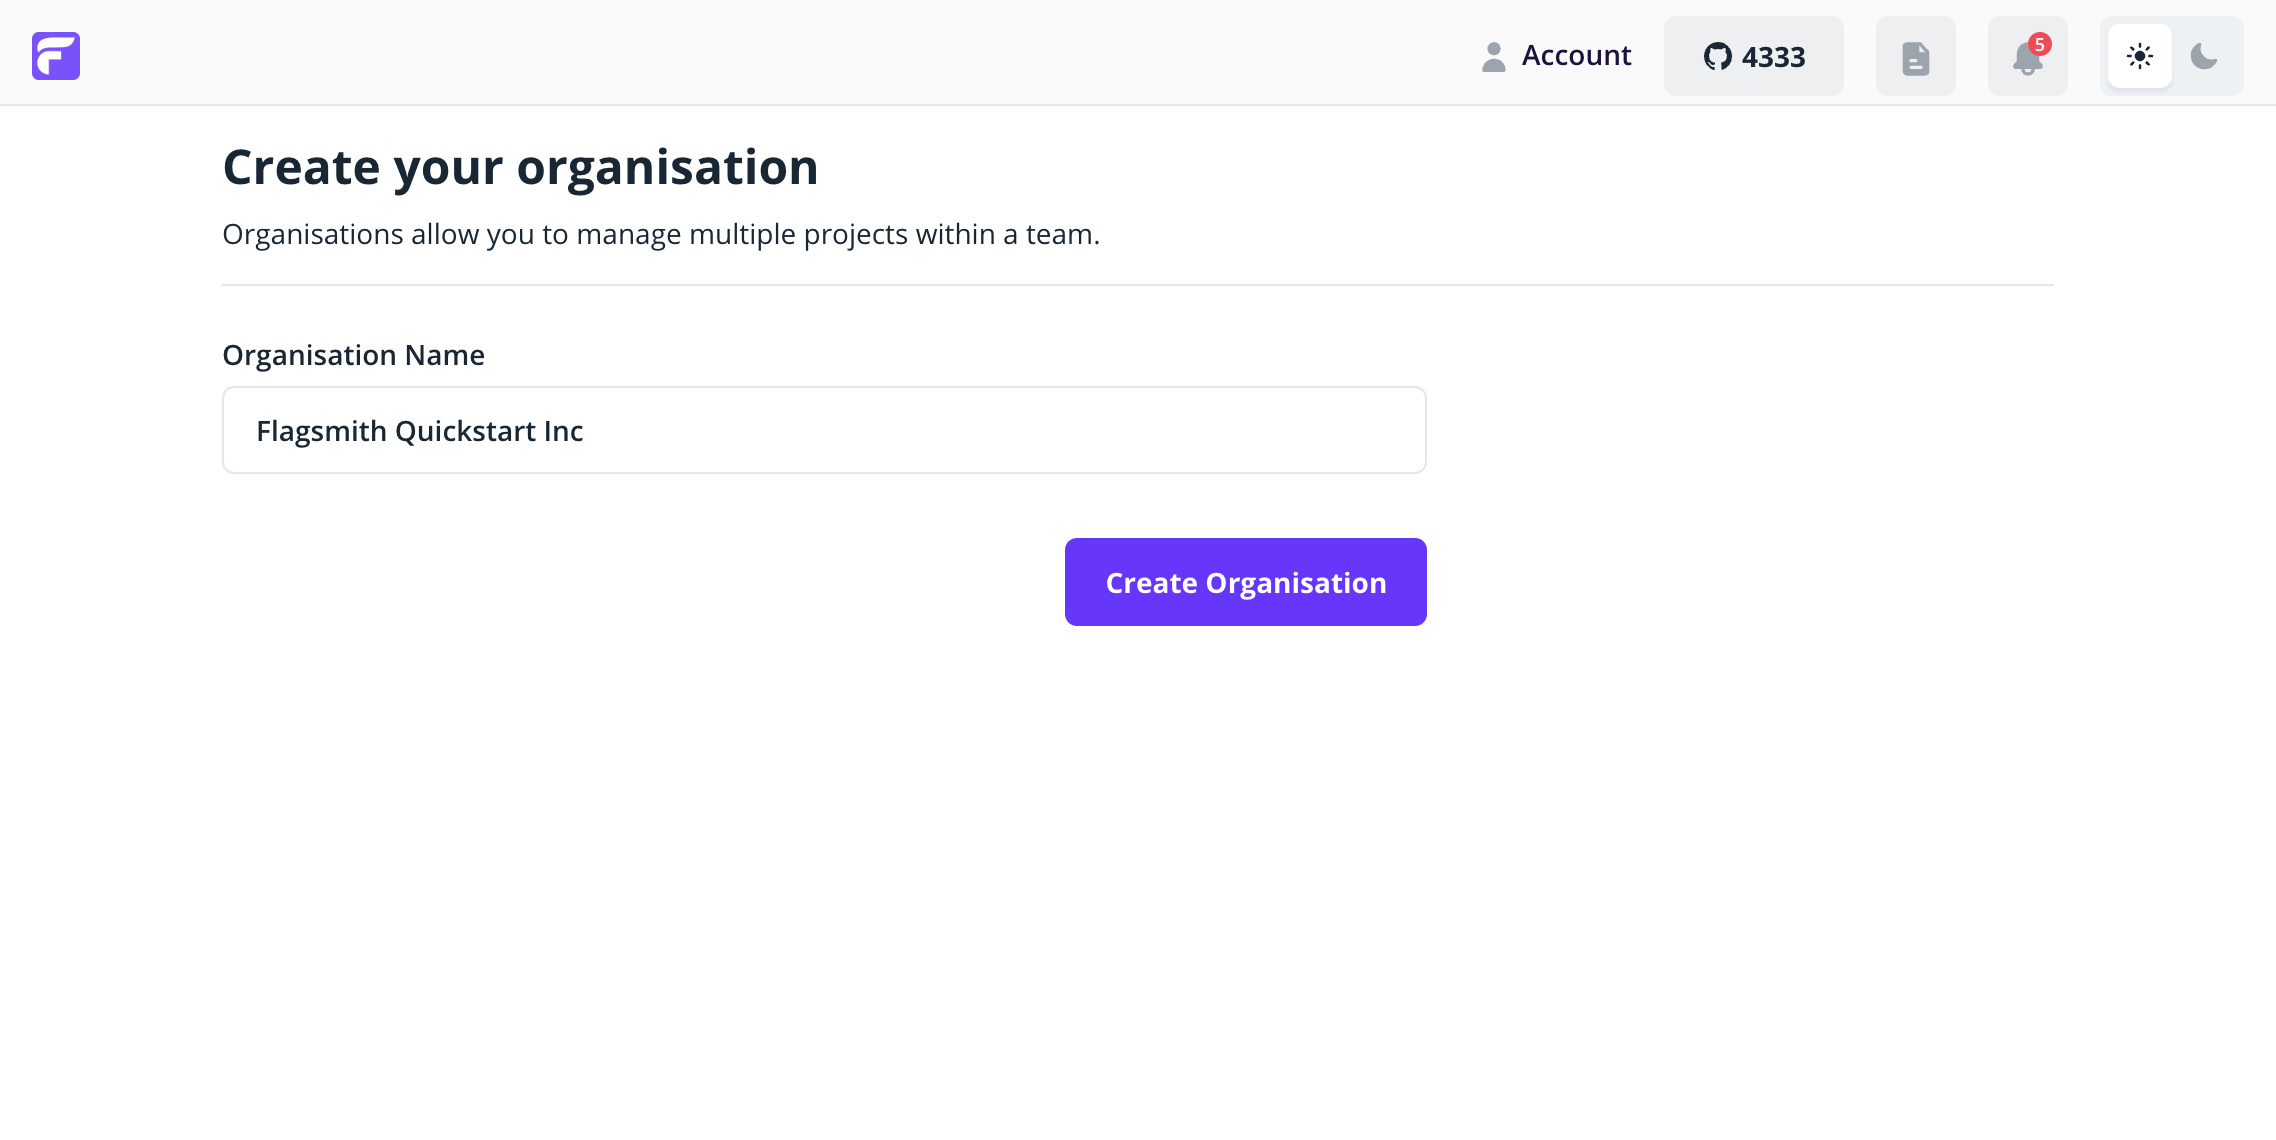
Flagsmith manages Flags with Projects, so let's create one now:

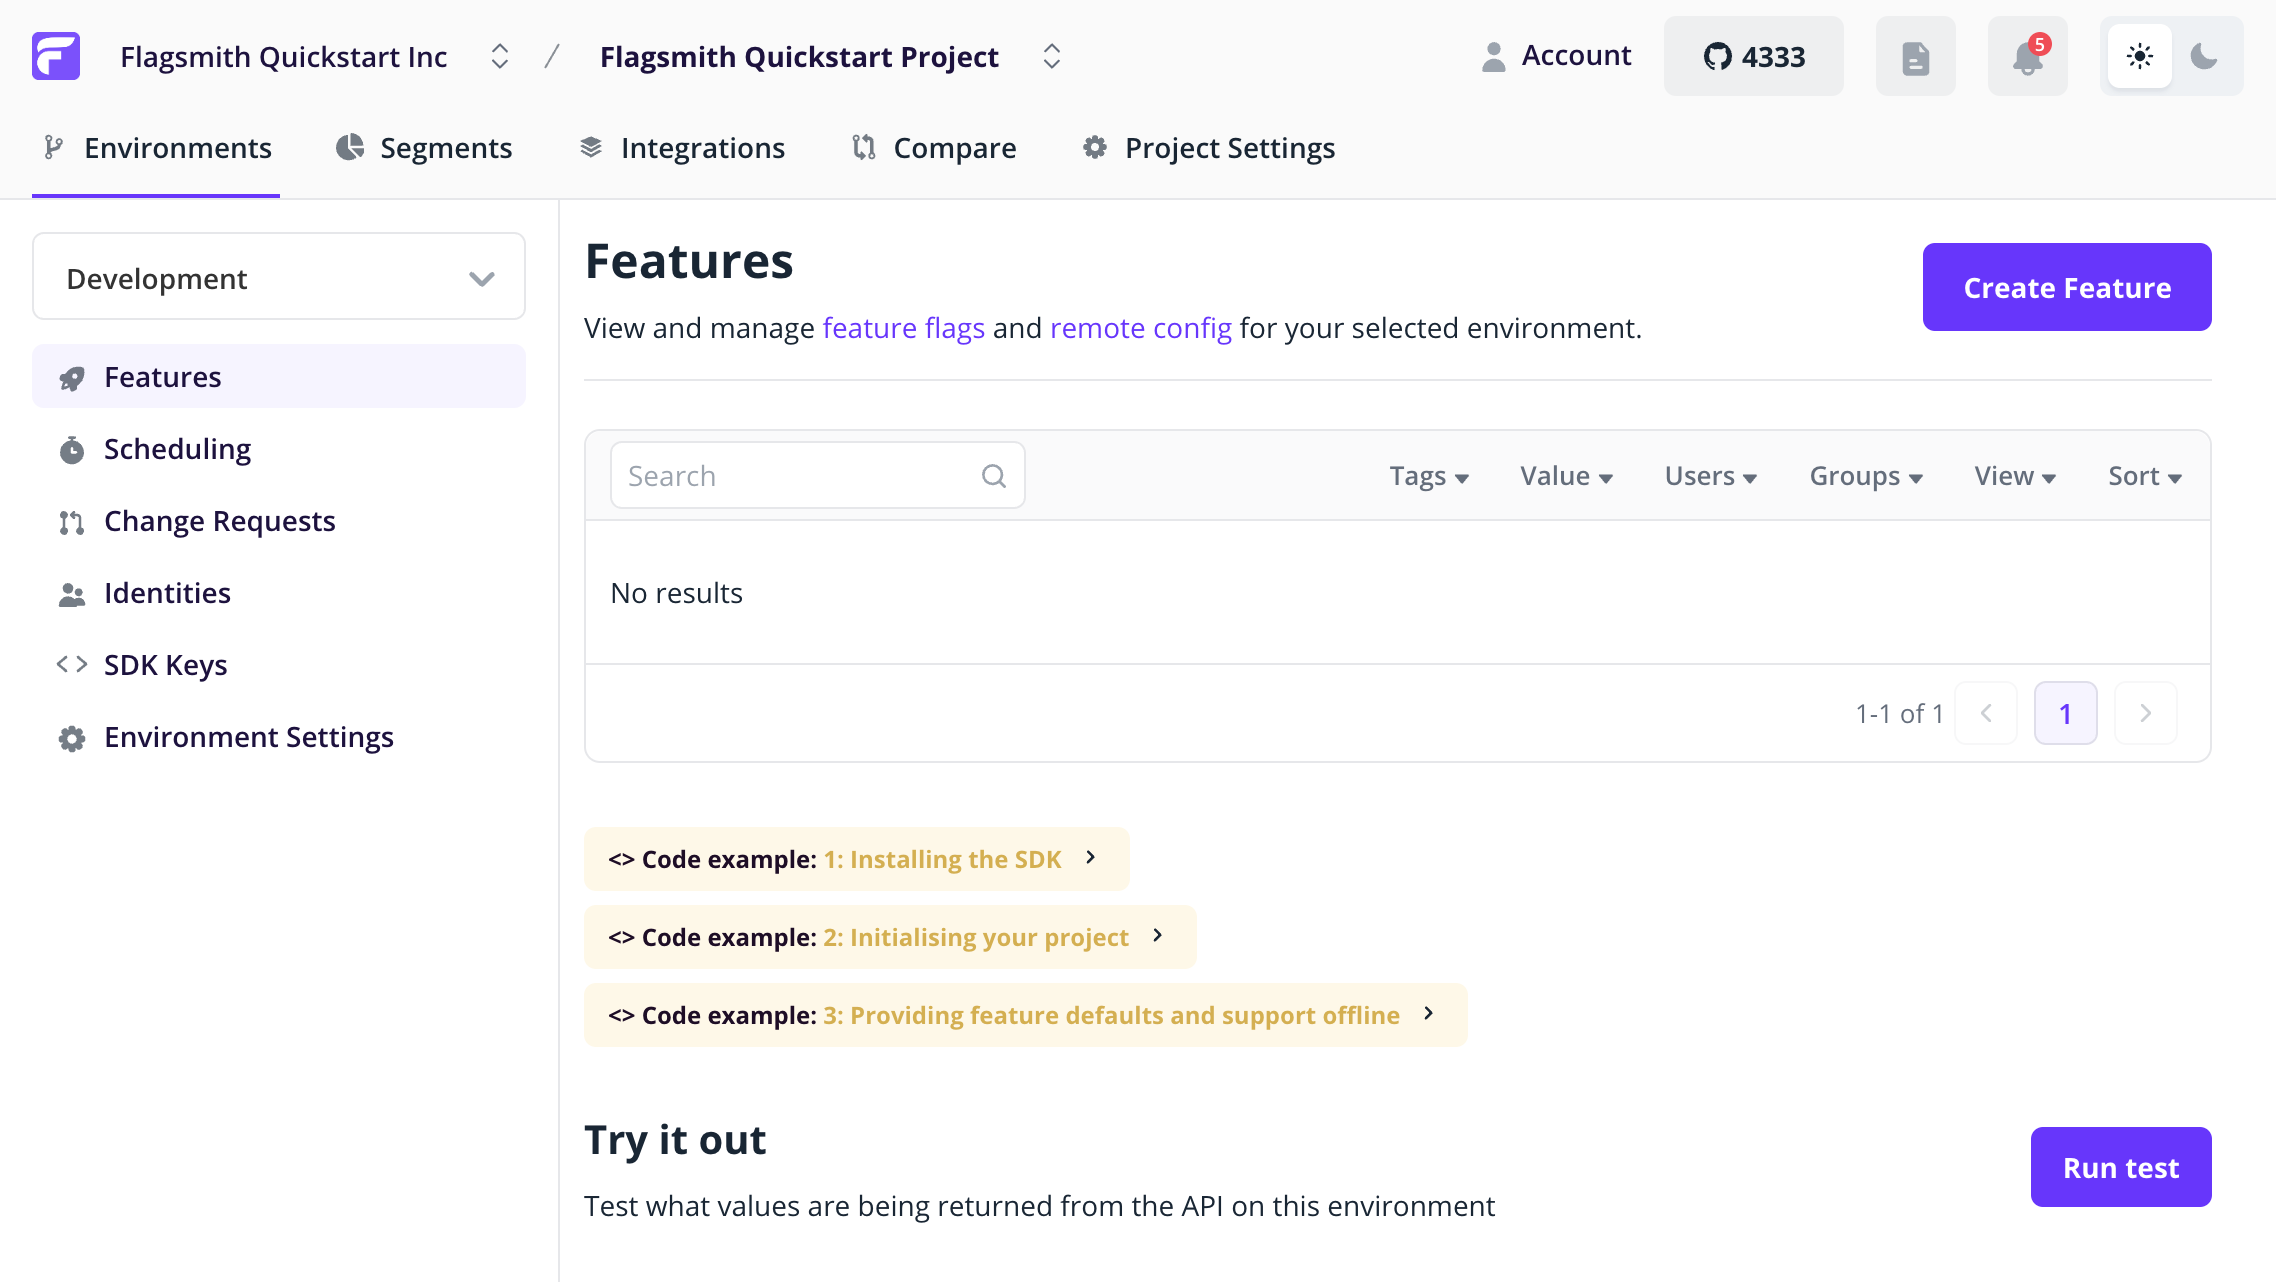
Flagsmith organises Projects into separate Environments. When you create a Project, Flagsmith automatically creates Development and Production Environments. We will come to these Environments later. Let us go ahead and create our first Flag. This flag will control whether a button shows on our web page.
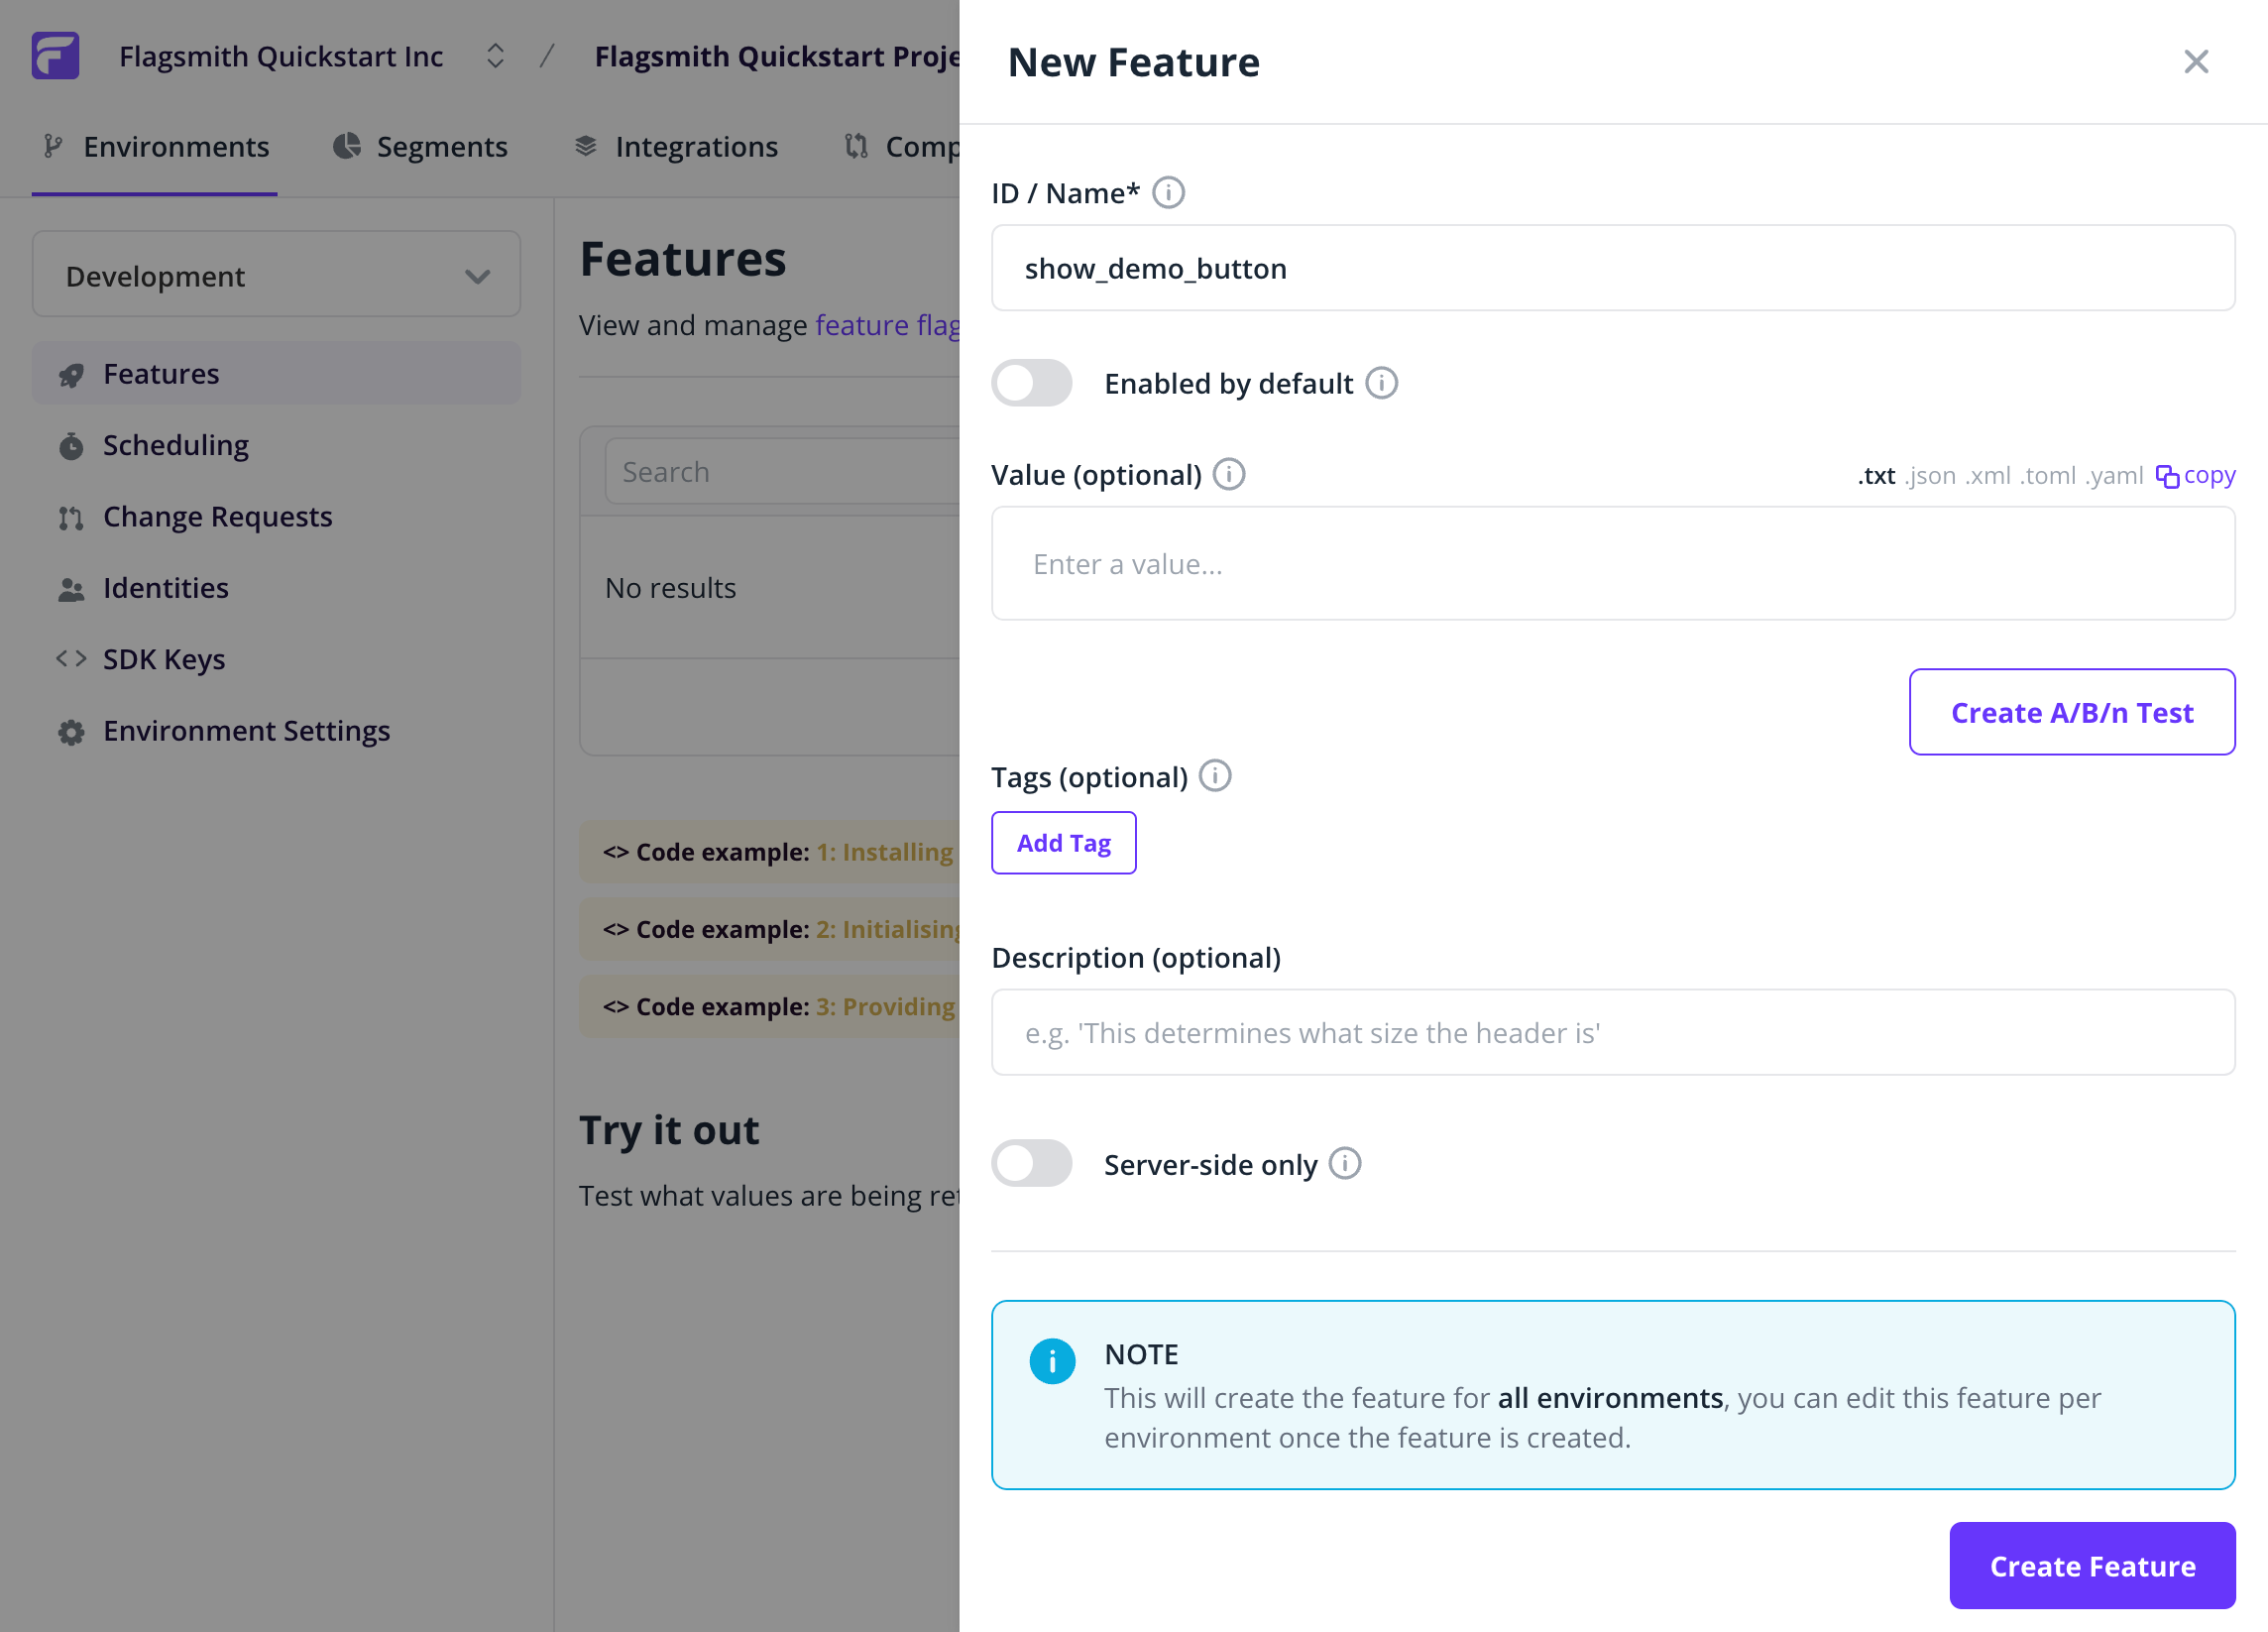
Flags within Flagsmith are a combination of both: A Boolean value - the Flag State and then optionally: A String/Integer/Boolean value - the Flag Value. For now, we're only going to use the Boolean value of the flag to control whether the button shows. Create a flag called show_demo_button, and leave it as Disabled by default:
2. Import the Javascript SDK
Ok, so we have set up our flag; now let us bring it into our application. We have a (quite small!) web page:
<!doctype html>
<html lang="en">
<head>
<meta charset="utf-8" />
<title>Flagsmith Quickstart Guide</title>
</head>
<body>
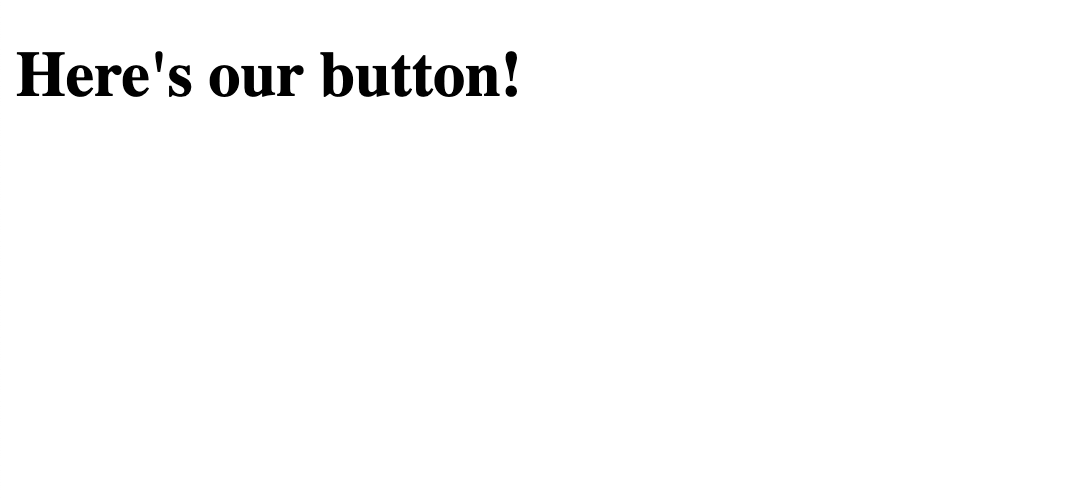
<h1>Here's our button!</h1>
<div id="submit_button">
<input type="submit" value="Flagsmith Quickstart Button!" />
</div>
</body>
</html>
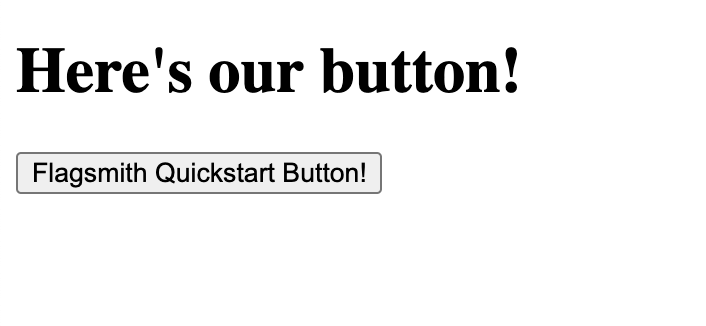
The page looks like this:
For the purposes of this quickstart tutorial, we will import the SDK inline into our web page:
<script src="https://cdn.jsdelivr.net/npm/@flagsmith/flagsmith@12.1.2/index.js"></script>3. Connect to the Flagsmith API
We can now connect to the Flagsmith API and get our Flags. When you initialise the Flagsmith SDK, you have to provide an Environment ID. This way, the SDK knows which Project and Environment to retrieve flags for. Head to the Environment Settings page within Flagsmith, and copy the API key:
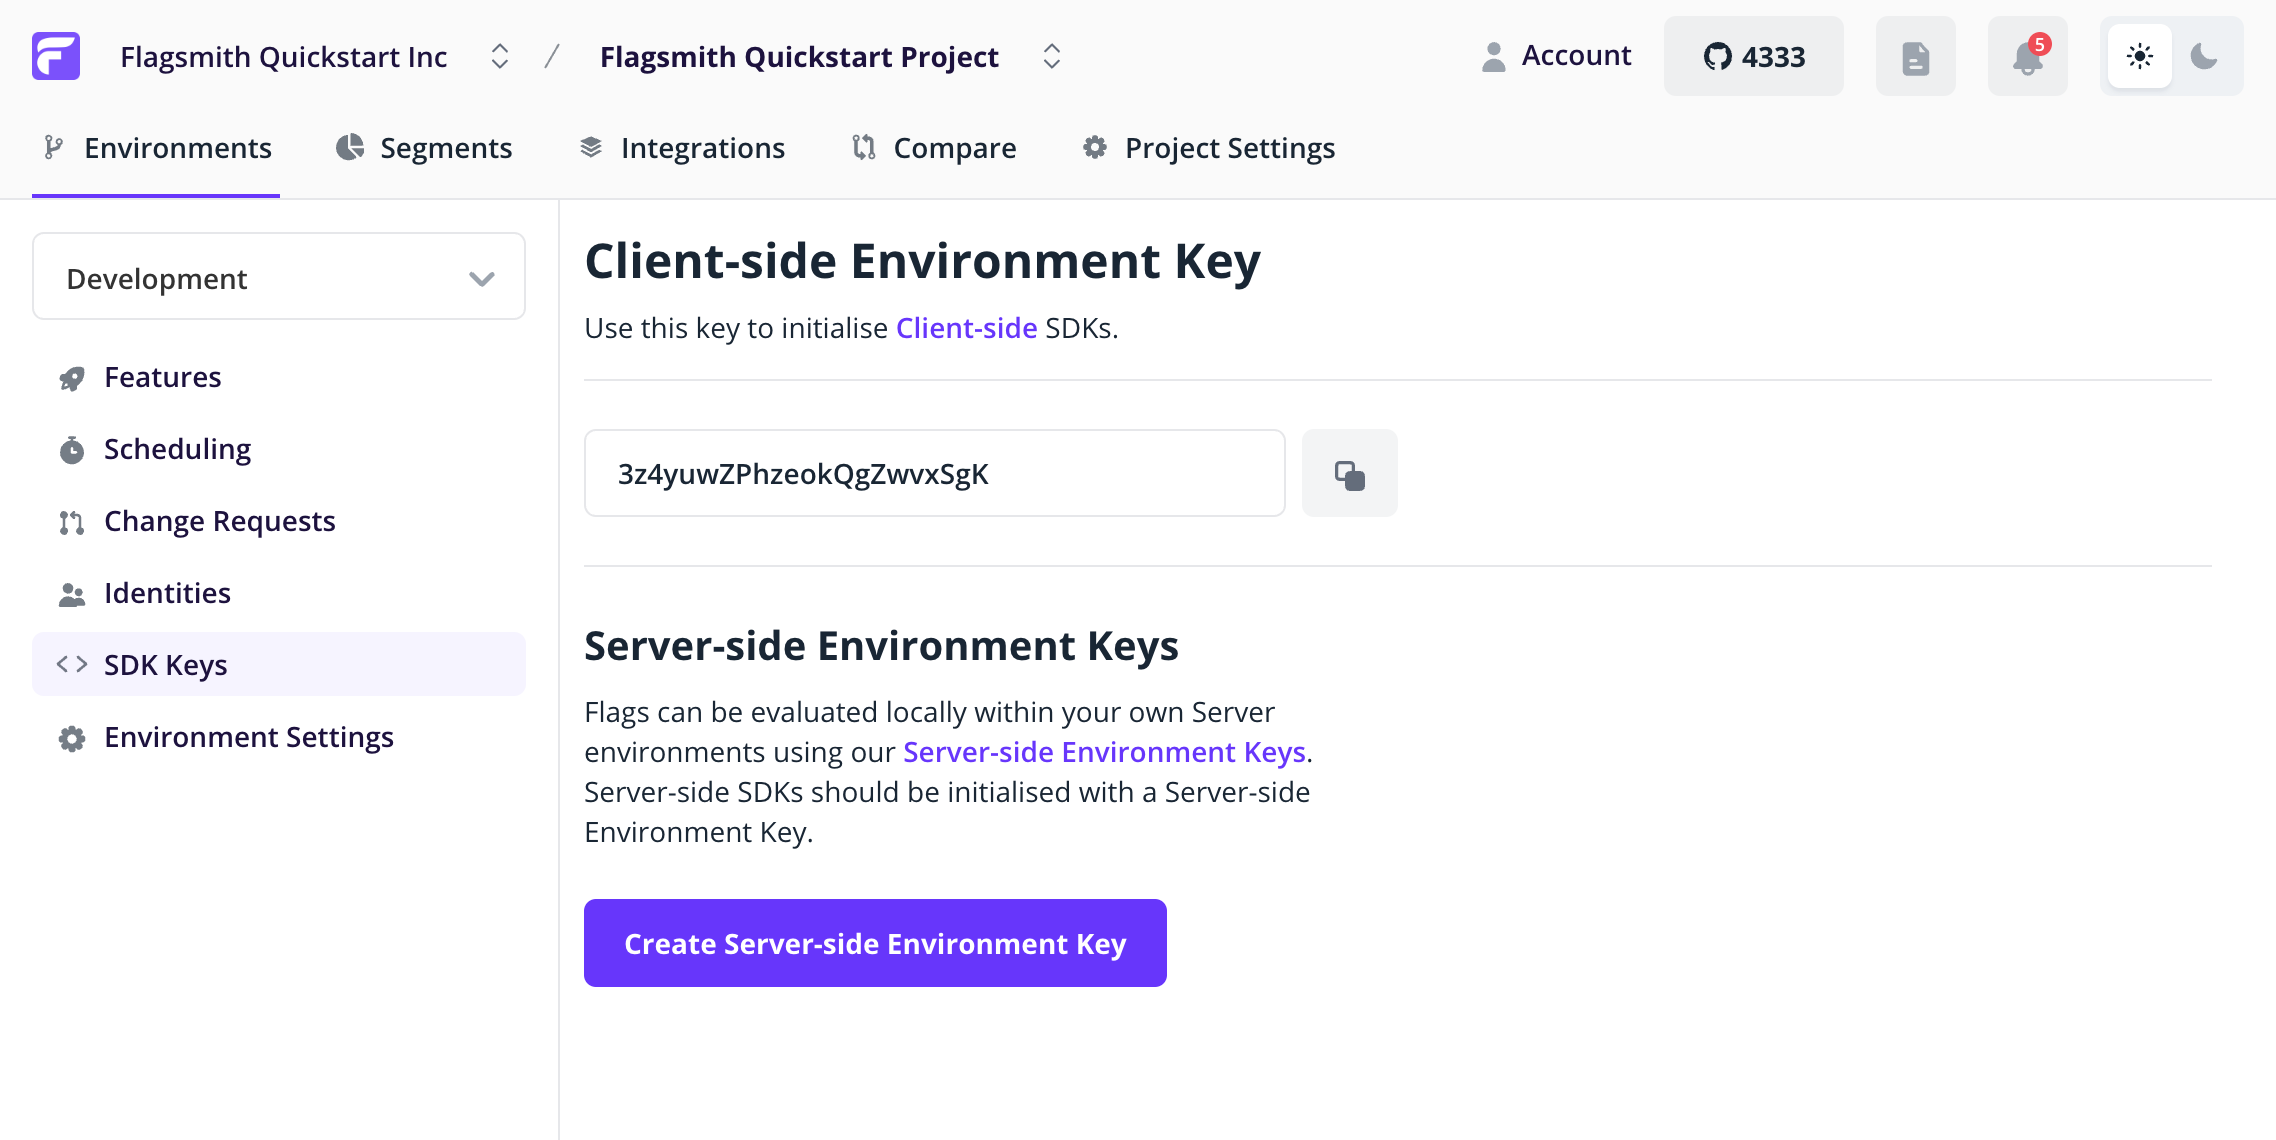
Then paste your API key into the code below:
<script>
 flagsmith.init({
  environmentID: '<add your API key here!>',
  onChange: (oldFlags, params) => {},
 });
</script>
Now when the browser opens the web page, it will download the Javascript SDK and make a call to edge.api.flagsmith.com
to get the flags for our Environment. You can see this in the browser network tab:
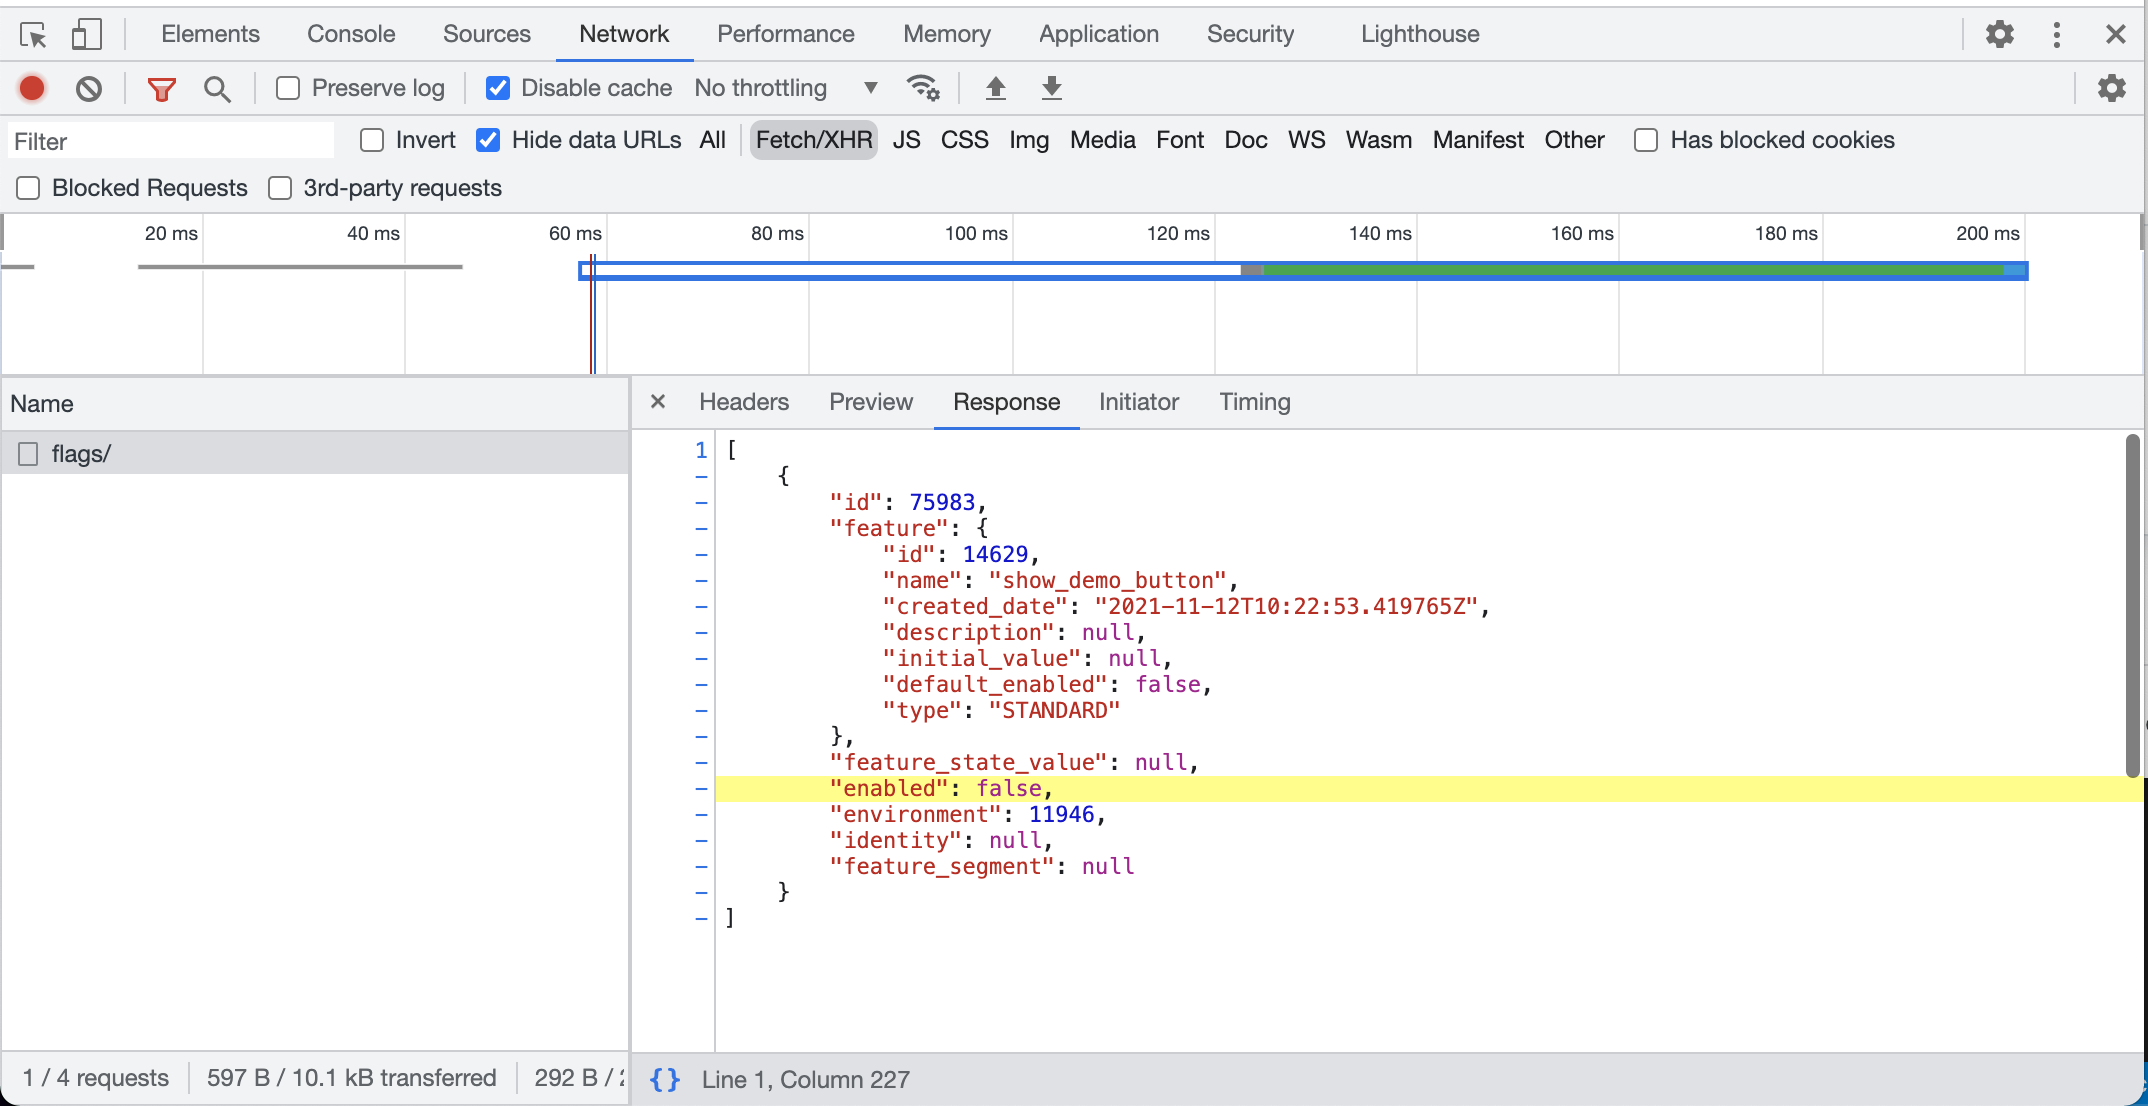
You can see here that the flag is being returned by the Flagsmith API and it has "enabled": false as the value.
4. Hook up our Application
Let's hook this value up to our button, so that the value of the flag controls whether the button is hidden or shown.
<script>
 flagsmith.init({
  environmentID: '<add your API key here!>',
  onChange: (oldFlags, params) => {
   if (flagsmith.hasFeature('show_demo_button')) {
    var submit_button = document.getElementById('submit_button');
    submit_button.style.display = 'block';
   }
  },
 });
</script>
This code sets up a callback, which is triggered when we get a response back from the Flagsmith API. We will check for the state of the flag and set the display visibility based on the result.
Our entire web page now reads like this:
<!doctype html>

<html lang="en">
 <head>
  <meta charset="utf-8" />
  <title>Flagsmith Quickstart Guide</title>
  <script src="https://cdn.jsdelivr.net/npm/@flagsmith/flagsmith@12.1.2/index.js"></script>
  <script>
   flagsmith.init({
    environmentID: 'ZfmJTbLQZrhZVHkVhXbsNi',
    onChange: (oldFlags, params) => {
     if (flagsmith.hasFeature('show_demo_button')) {
      var submit_button = document.getElementById('submit_button');
      submit_button.style.display = 'block';
     }
    },
   });
  </script>
 </head>
 <body>
  <h1>Here's our button!</h1>
  <div id="submit_button" style="display:none">
   <input type="submit" value="Flagsmith Quickstart Button!" />
  </div>
 </body>
</html>
If we go back and refresh our browser, you will see that the button has now disappeared.
We've now put the control of the button visibility behind our Flagsmith Flag! You can now go back to the Flagsmith dashboard and enable the flag:
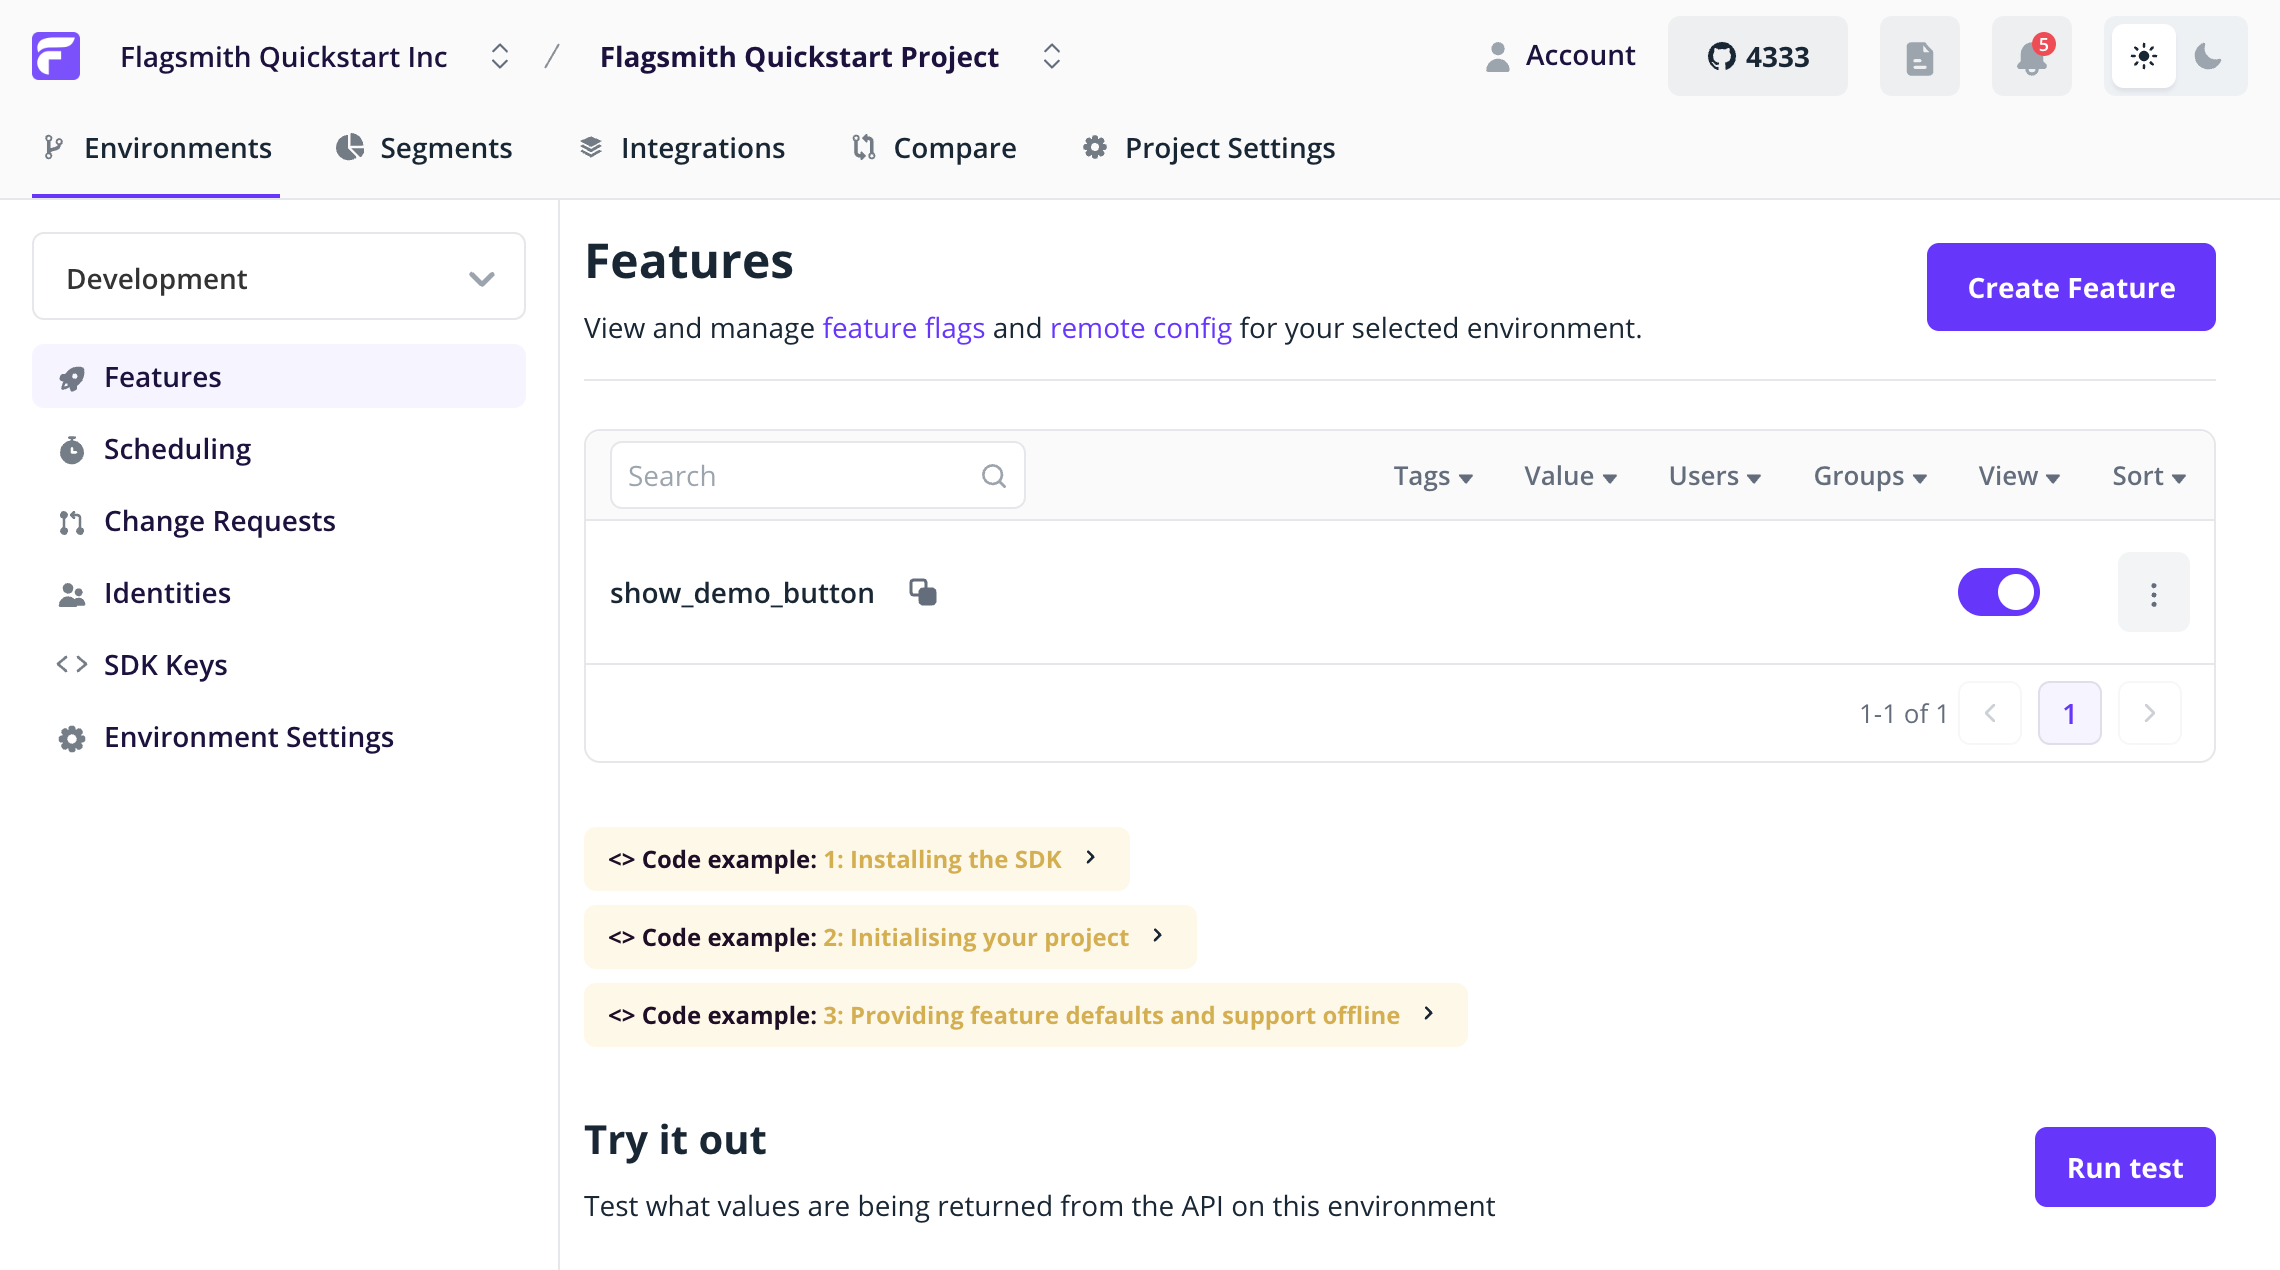
Return to your browser, refresh the page, and the button will reappear.
Finishing Up
This was a pretty quick demo, but it covers the core concepts involved in integrating Flagsmith into your application. From here, some areas of the documentation you might want to check out are:
- A deeper overview of the application - Features, Identities and Segments.
- How the different concepts used in the quickstart are related in the Data Model.
- More details about our API and SDKs.
- How you can run Flagsmith yourself or use our Hosted API.
Next Steps
Target Use Cases
- Advanced Targeting and Segmentation: Learn how to target features to specific users, groups, or segments for advanced rollout strategies.
Best Practices for Using Flags in Code
- When to use feature flags: Understand the core concepts and workflows for using feature flags effectively.
- Using flags in frontend and backend code: Practical guidance and examples for both client and server-side usage.
- How to test your application using flags: Strategies for testing and rolling out features safely.
Supported SDKs
- SDKs & Integrations: Explore all supported SDKs for integrating Flagsmith with your technology stack.
Automation & API Access
- REST API Reference: Learn how to manage flags programmatically and automate flag changes.